
Dev Tutorial: Rigify to Unity
When time (and resources) are limited, off the shelf tools can be a life saver. Unfortunately, it can introduce complexity when the underlying systems are a black box or your mental model doesn't match.Because we wanted high quality character animations, it was essential that we had good tools for posing. While we’ve both built a handful of character rigs, none of them came close to the feature set and ease of use as Rigify in Blender. Learning to replicate this would have taken far longer (And likely produced the same end result).That said, the flow between a full fat Rigify rig and a performant Unity rig was not immediately straightforward. Below we’ll go over how we accomplished this - by no means the only or best way - but good enough to ship a game!Note: Built using Blender 2.82
Section 1: Blender & Rigify
Start by creating a new Rigify armature - select the setup that’s closest to your needs. “Orb” hands in Valet means we don’t need bones for fingers! (From here on out, we'll refer to this as the "metarig")
Delete bones from the initial metarig as needed. Keep in mind that some bones are required by Rigify to function - even though we have no need for multiple neck bones, Rigify won’t export properly without them.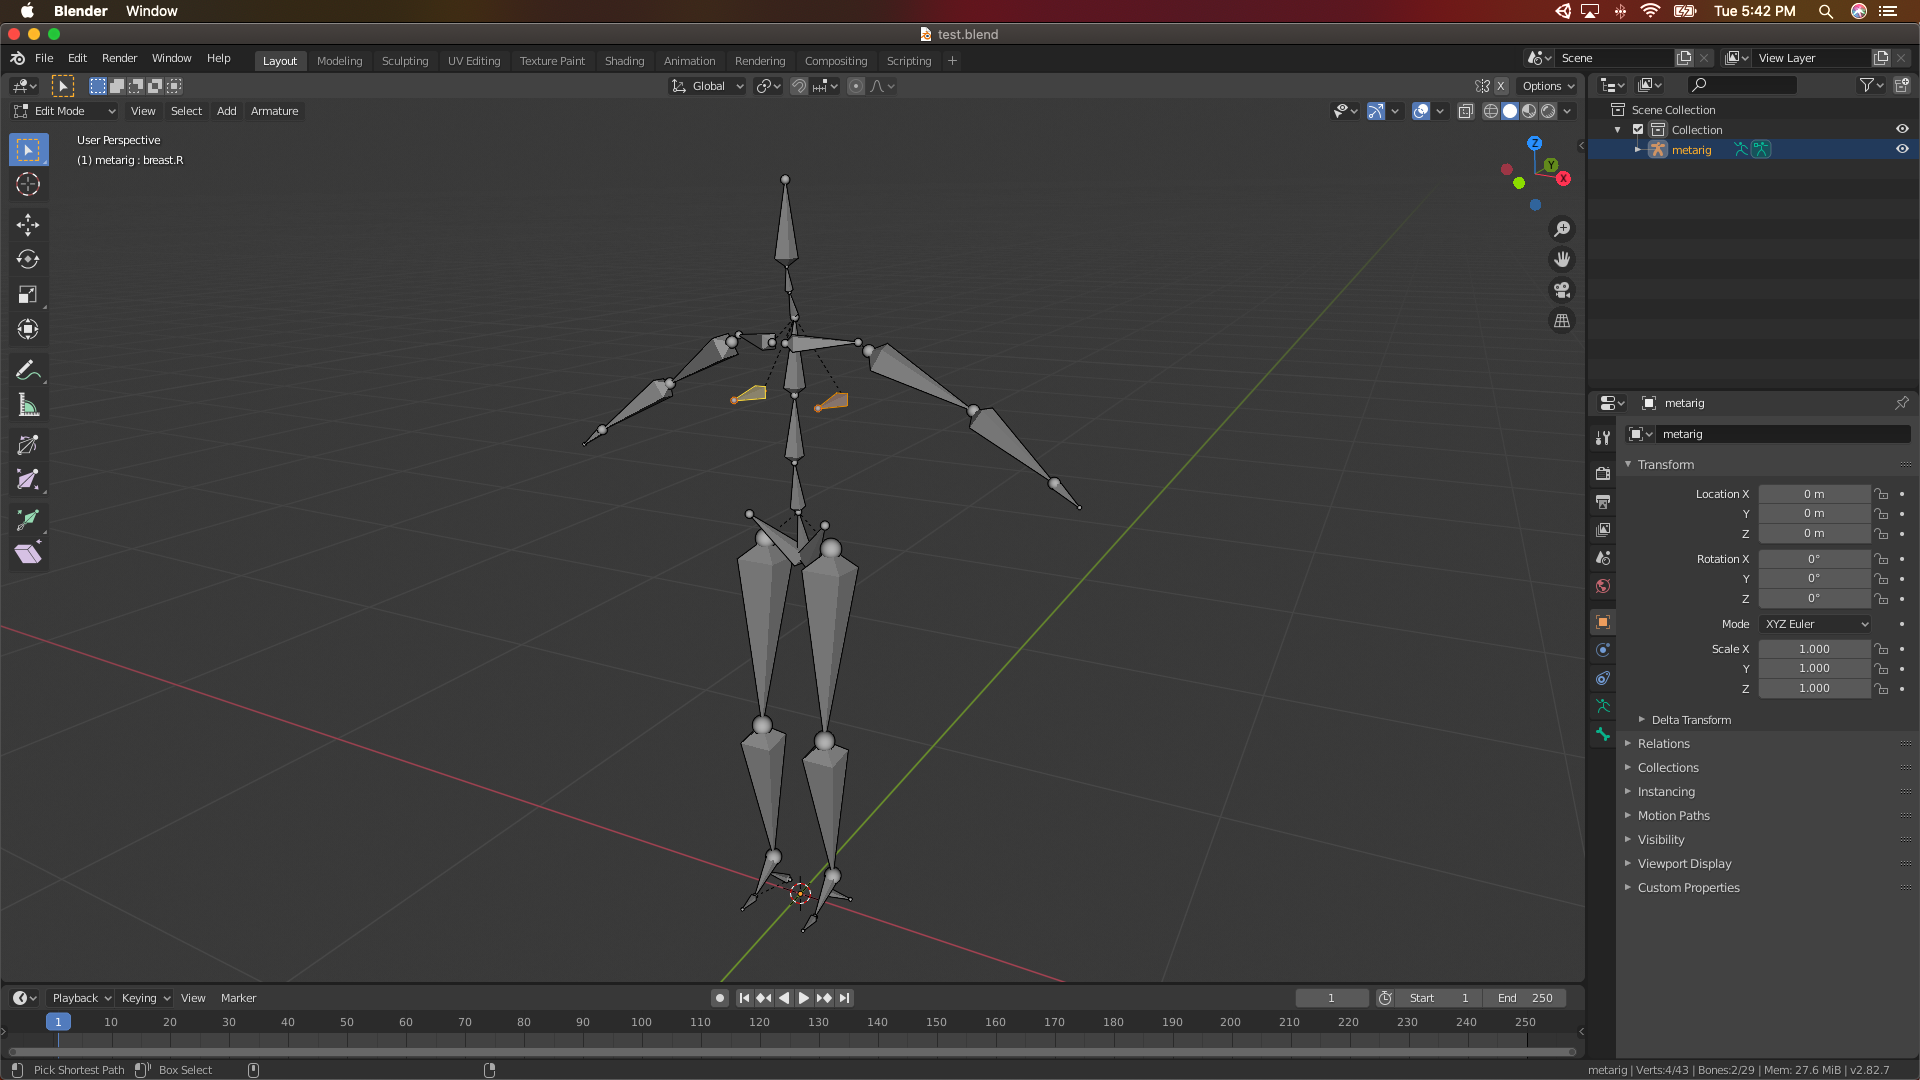
Import the character model, and then layout the metarig to match the proportions.
Once laid out, offset the metarig's root. This will make space for the generated rig controller, which is always created at (0, 0, 0).
Finally generate the rig:Select the metarigSwitch to the Object Data Properties tab (Armature icon)Press “Generate Rig”, underneath "Rigify Buttons"

(Note: This new rig will be the one we pose with - referred to as just the “rig”)Section 2: Building the Export Rig
Lots of controls is great for posing…but terrible for performance. To solve this we build a “mirror” rig, which will match the position of the fancy rig, without all of the extra elements. This process is fairly manual, and unfriendly to large changes. Those more comfortable with scripting in Blender may find easier ways to accomplish this!Start by creating a new armature - this will be the basis of the export rig (Which we'll call the "MeshDeformRig")
Create/extrude bones in order to match the original metarig layout. Note that bones only need to be created on one side - we’ll mirror them later.
Then rename the bones to match the metarig conventions. Using “.L” will also help Blender with mirroring arm and leg bones.
In order for the initial binding to work, we want the MeshDeformRig’s bones to match the original pose. This process is quite manual:Select both the metarig and MeshDeformRig in Object Mode.Switch to Edit mode.Select a bone in the MeshDeformRig first, then the corresponding bone in the metarig.Right click X, Y, or Z in the Trasform inspector, and then “Copy All to Selected” (Pictured here).Repeat for each bone

(Note: Make sure that you’ve turned off any mirroring options, as this will flip bones in undesired ways).Now that all of the bones are named and properly laid out, we can mirror the rig with Right Click, then “Symmetrize”.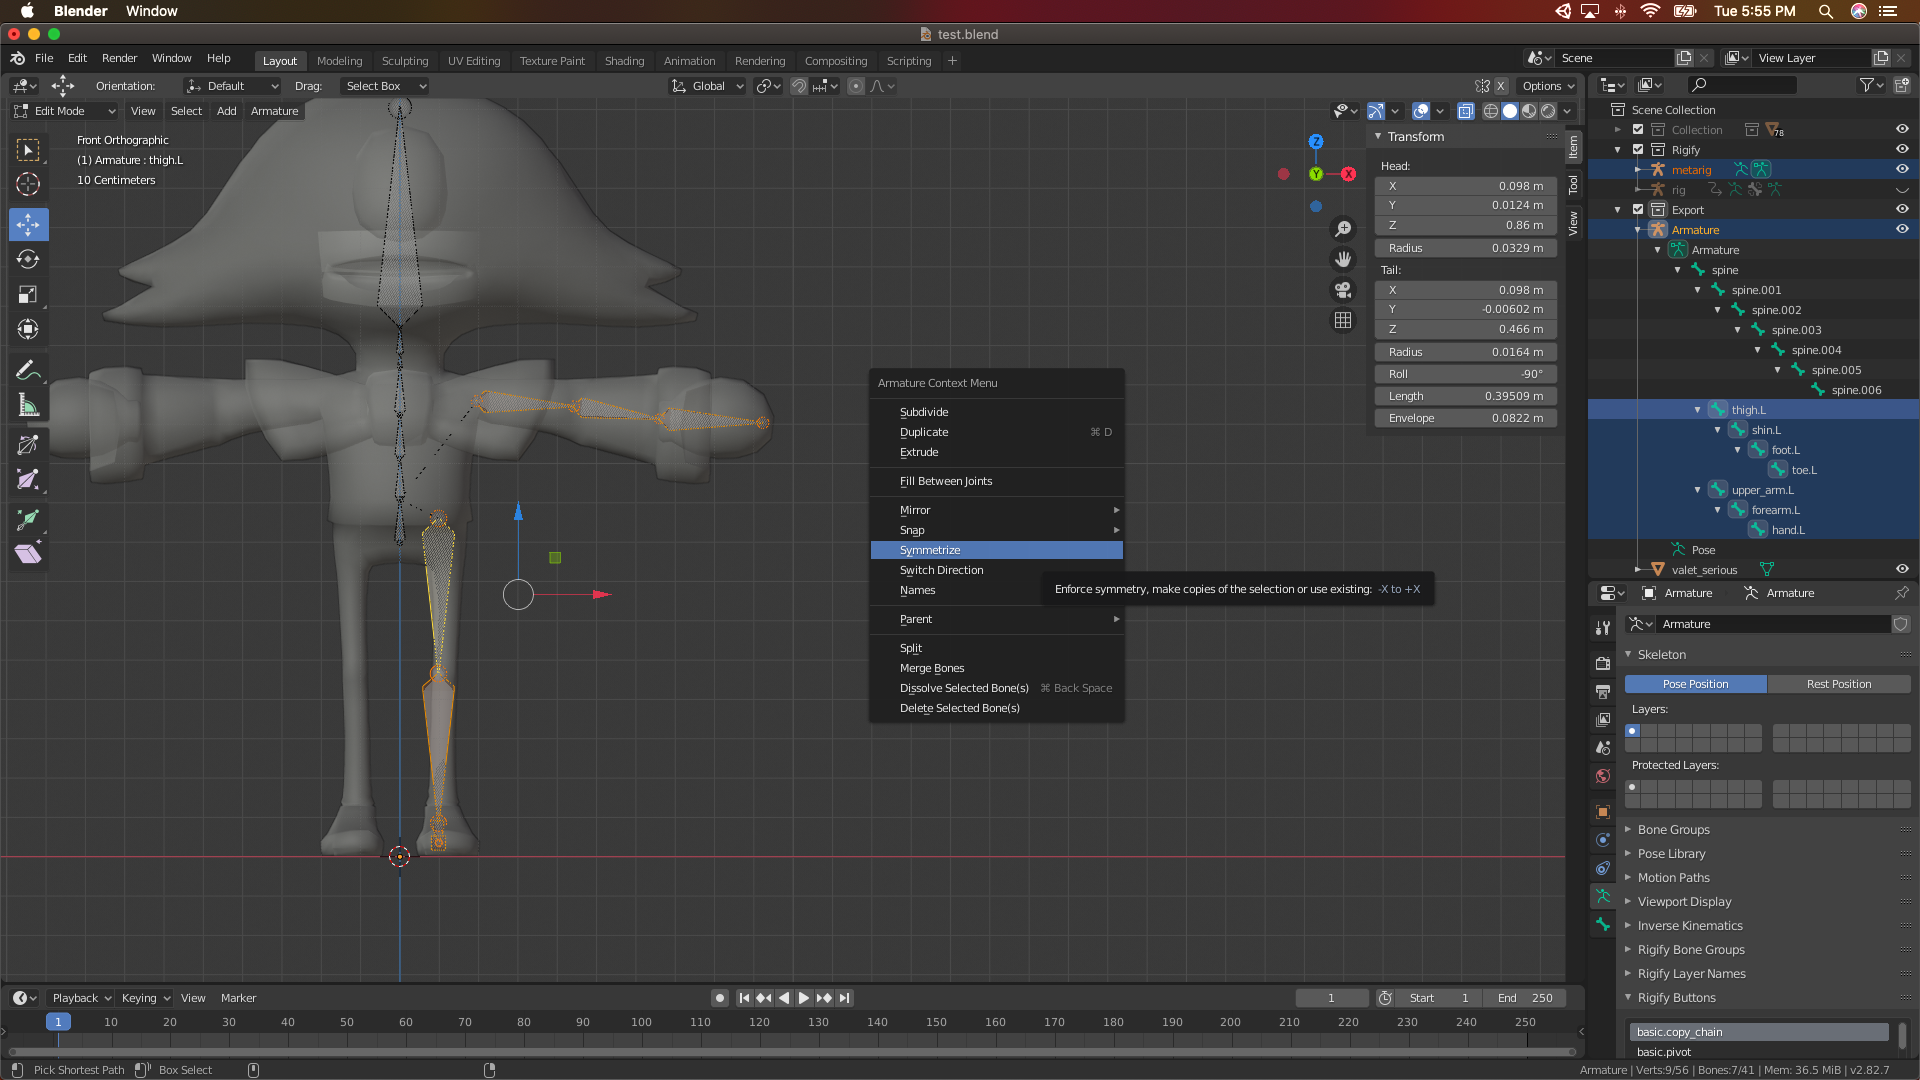
To help distinguish between the different rigs, we set the MeshDeformRig’s visuals to “Stick”.
Now we want the MeshDeformRig to match the posing of the base rig:Attach a “Copy Transform” bone constraintTarget the generated “rig”Set the bone to the “ORG-” variantRepeat for each bone

(Note: At this step you can decide whether the MeshDeformBone should actually have and deform values on the model. We still include match the transform to maintain the hierarchy)Once all of the bones have matching constraints, we can bind the model to the MeshDeformRig. When you move the base rig, you should see the character move as well.
(Note: If you have any issues with binding, make sure that the Bone Roll values are matching or zeroed out)Section 3: Animation Pipeline
Two different rigs means animations will live in two different places. The base rig will contain all of the actual posing information, and the MeshDeformRig will cycle through all of the poses, essentially “baking” all of the poses into a single clip.We’ll start posing using the base rig - the one with all of the fancy layout widgets. Create a new action for this pose (Here we're using the Action Editor window).
Once created, we press “Push Down” to place the action into the Nonlinear Animation window. This is where we’ll layout of the poses to “bake” into the final export.
Create the remaining poses, making sure to “Push Down” each one as they're created.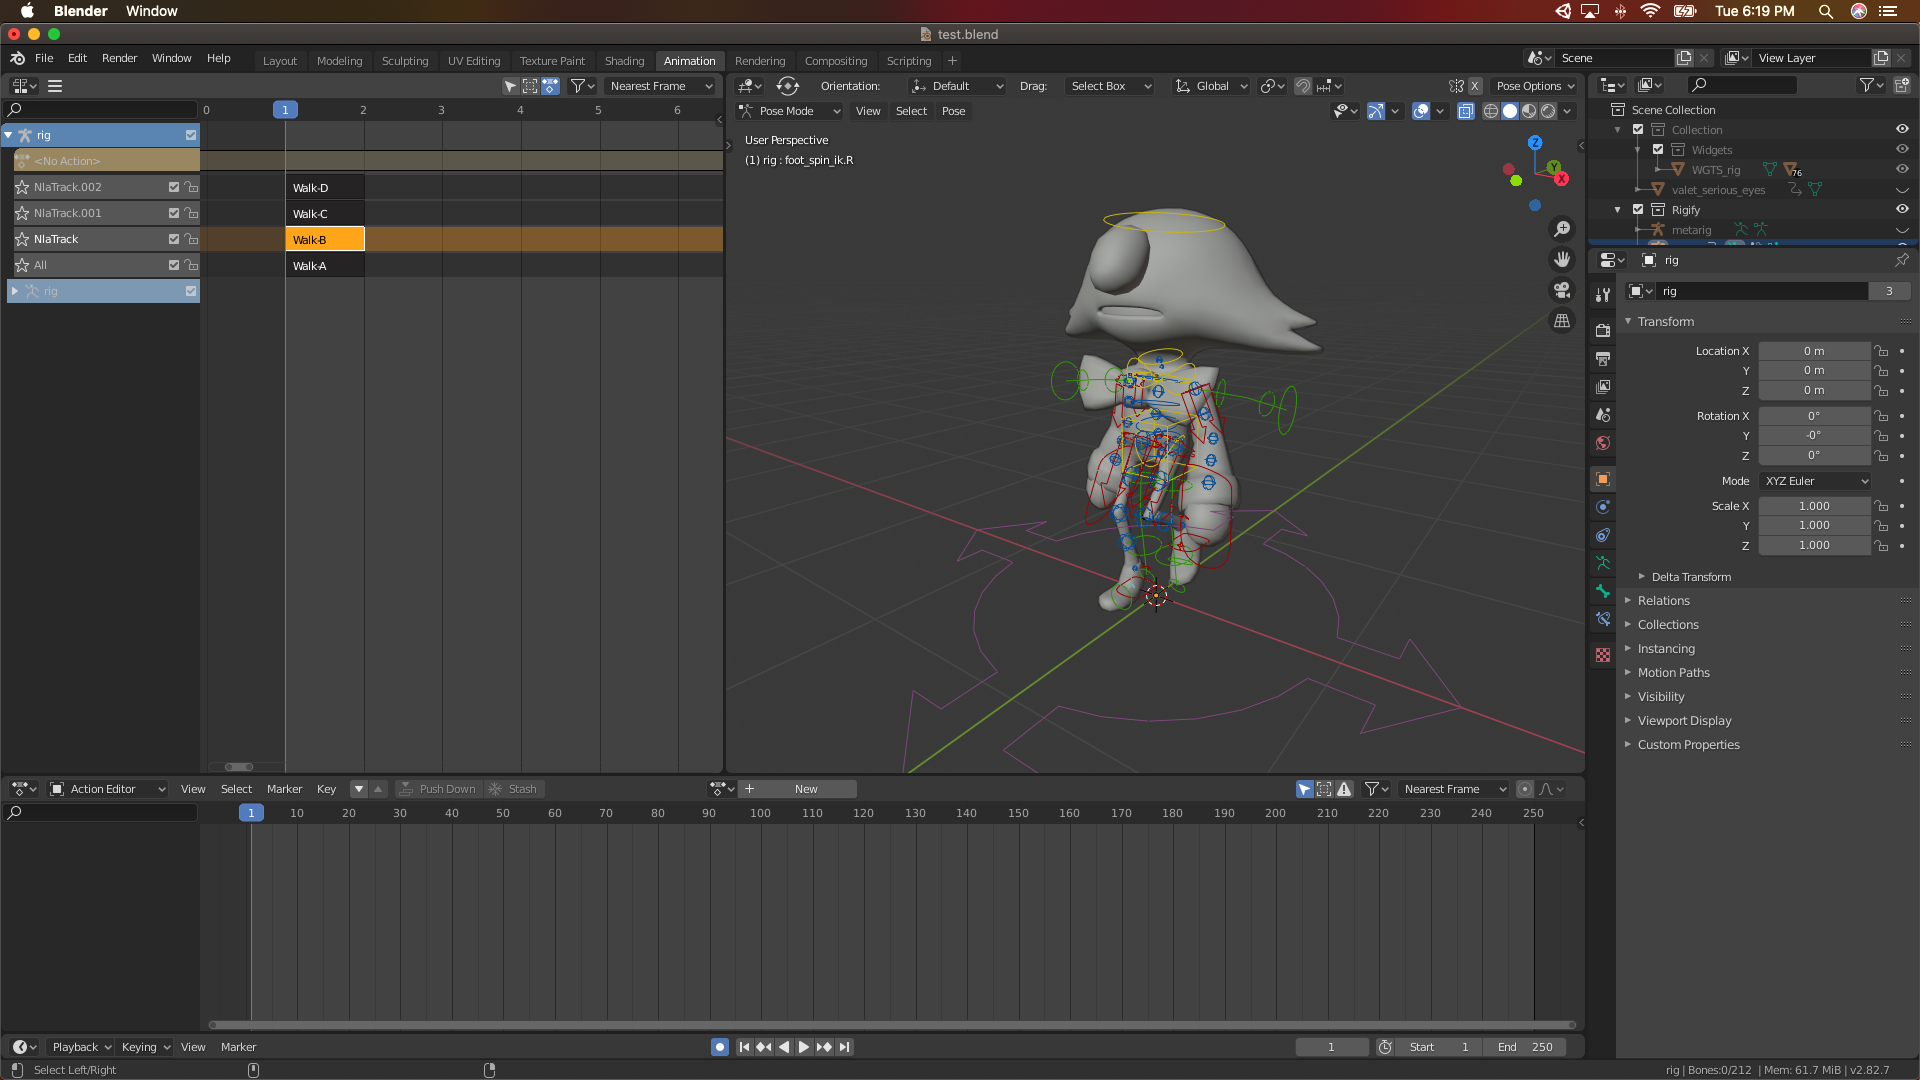
Then we layout all of the poses onto a single track, which we labeled as “All”. The position of the poses will determine which “frame” they’ll be imported as. Keep poses a single frame apart to prevent any unwanted import artifacts/blends.
Now we need to create the action for export:Select the MeshDeformRigCreate a new action (we name “DefAll”)“Push Down” this action (You should see this show up under the MeshDeformRig)Create two keyframes on all bones - one at 0 and another at the last frame to export.

The DefAll action will be the only clip we utilize in Unity. The single pose actions will get “baked” into this umbrella action. From this point on you won’t need to worry about Pushing Down clips, or organizing their position in the timeline - any pose changes can be made to the individual actions.Section 4: Importing to Unity
To make exporting easier, we do a little file organization. Place the metarig and rig into their own collection, and the MeshDeformRig into another collection.
Anytime we’re ready to export, make sure the “star” is selected on the All channel as this will force the clips on the channel to be sampled. Note: When making pose changes, you’ll need to “unstar” this channel to actually see the model update.
For maximum compatibility, we export the characters using FBX. Attached is the list of export settings we use (This involved a bit of trail and error).
In Unity, disable “Resample Curves” to prevent any unwanted interpolation (We want our poses to be static/still).
Add each pose as a new animation. Additional “takes” may appear, so ensure you’re selecting the “DefAll” clip. The frame numbers should match the layout in Blender.
And that should be it! This process involves a fair amount of leg work to get setup, but after which is easily to iterate and manipulate.Additional Links
Blender Rigify / MetaRig to Unity (YouTube) - Helped setup the basis for this process